

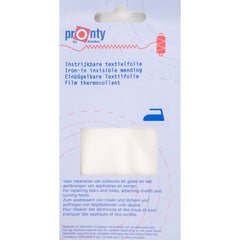
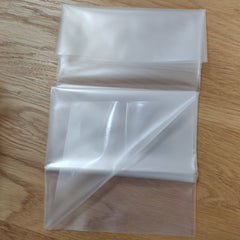
Pronty double-sided transparent iron-on textile film 40x50cm
- €4,95
- €4,95
- Unit price
- per
Availability:
✔In Stock
Merk:
Pronty
Type:
Glue foil
Lengte:
40cm
Breedte:
50cm
Kleur:
transparent
Buy safely with WebwinkelKeur
Free shipping from €50,-
Fast delivery!
Low shipping costs

Use this transparent stitchable foil as an adhesive layer between textiles. Suitable for repairing clothing and securing seams. This textile foil is comparable to Vliesofix and therefore also suitable for application and tinkering.
This only concerns the adhesive layer, so for repairing clothing you must add a fabric yourself.
Never place the iron directly on the foil. Everything should be covered with a cloth or paper. Only use the glue foil on materials that can be ironed.
related products
Example product title
- €4,95
- €4,95
- Unit price
- per
Example product title
- €4,95
- €4,95
- Unit price
- per
Example product title
- €4,95
- €4,95
- Unit price
- per
Example product title
- €4,95
- €4,95
- Unit price
- per
Example product title
- €4,95
- €4,95
- Unit price
- per
Example product title
- €4,95
- €4,95
- Unit price
- per
Example product title
- €4,95
- €4,95
- Unit price
- per
Example product title
- €4,95
- €4,95
- Unit price
- per
Example product title
- €4,95
- €4,95
- Unit price
- per
Example product title
- €4,95
- €4,95
- Unit price
- per
- Choosing a selection results in a full page refresh.